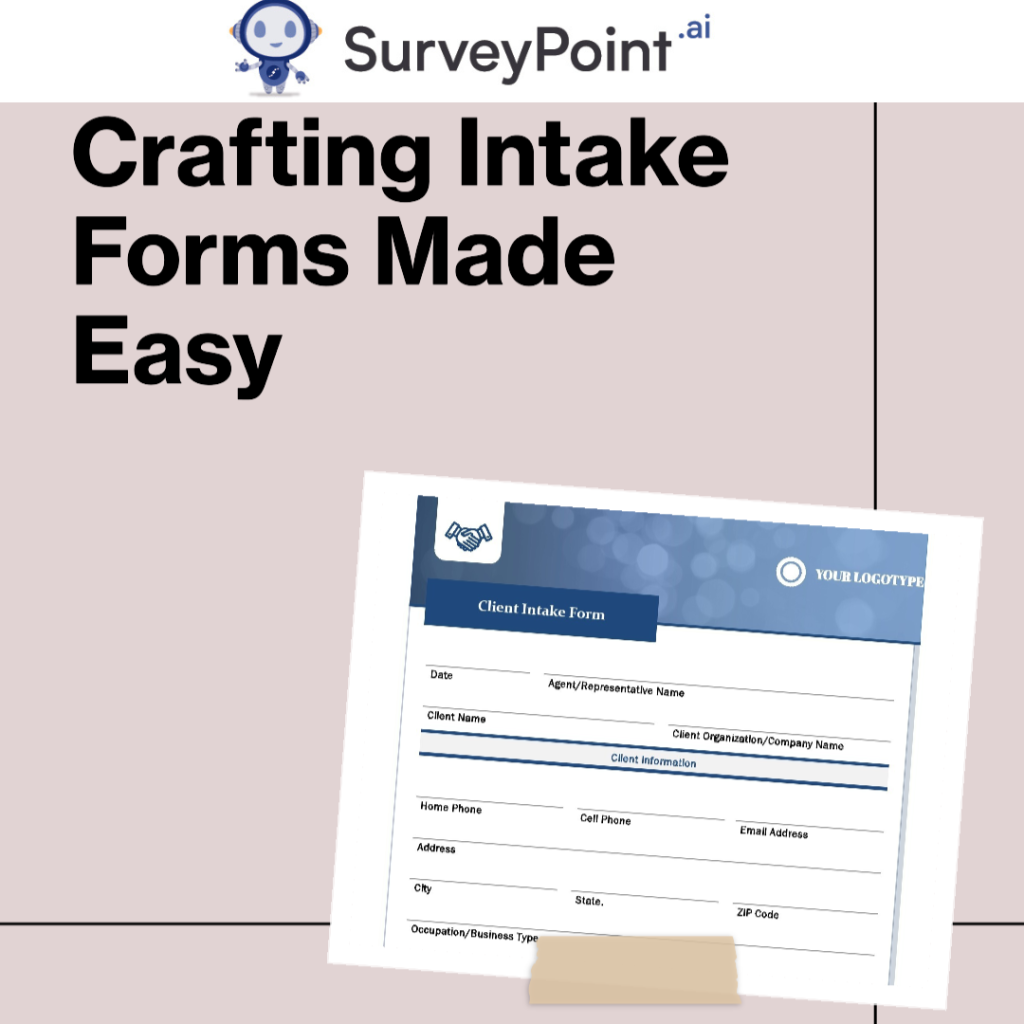
Intake forms are often used in various professional settings and businesses to get important information from people or clients at the start of a service or engagement.
Microsoft Word comes in many different versions and is one of the most famous tools for making intake forms. If you need to learn how to make an intake form in Word, we can help.

Intake forms in Word
Below, we show you how to make your entry form in Word and give you a better alternative.
Making intake forms in Microsoft Word makes it easy to make a form to get information from respondents or people. Intake forms can be made in Word by following these steps:
Step 1 : Open Microsoft Word.
Open Microsoft Word on your machine. Any version of Word will work, but the steps are different based on which version you use.
Step 2 : Make a new document.
- You can start a new, clean document by going to “File” > “New” or by pressing Ctrl+N (Cmd+N on a Mac).
- You set the page style.
- Before you start making your form, you should change the page layout. To do this, click the “Layout” or “Page Layout” tab based on your Word version. Here, you can change the page size, the borders, and the layout of the page.
Step 3: Add form fields.
Now is the time to add text areas, checkboxes, and dropdown menus to the form. Here’s how to get it done:
- Text Boxes: Click the “Insert” tab, then choose “Text Box” or “Textbox” from the dropdown menu to add a text box where respondents can type their answers. You can change the size of the text box or move it to a different spot on your page by clicking and dragging it.
- Checkboxes: To add checkboxes for multiple-choice or yes/no questions, click “Checkbox” under “Form Controls” on the “Insert” tab. Click the paper to move the checkbox. You can copy and paste extra choices for more than one choice.
- Dropdown menus:
Click on the “Insert” tab.
Choose “Dropdown List” from the “Form Controls” part.
Click on your document to add it.
Options are selected from dropdown choices. After that, double-clicking on the menu will let you change the settings.
- Other parts: You can add more features like choice buttons, date pickers, and signature lines in the “Form Controls” area.
Step 4: Customize the details of the form.
Once form elements have been added, you can change them by right-clicking on each one and picking “Properties” or “Properties Format.” In the properties window, you can change the label text, set default numbers, change the look, and change other settings for each form element.
Step 5: Keep the form safe.
By turning on the “Restrict Editing” choice, respondents won’t be able to change the layout or structure of the form by accident:
- Pick “Review” from the list of options.
- By selecting “Limit Editing.”
- Check the box next to “Allow only this type of editing in the document” on the right panel.
- Choose “Filling out forms” from the list.
- Choose “Yes, start enforcing protection.”
- You can make a password if you want to restrict access even more.
Step 6: Send it out and save it.
By selecting a place and clicking “File” > “Save As,” you can save your form. You can also save it as a PDF if you want to share it online.
Now that your intake form is ready, you can give it to responders. If you save it as a PDF, they can print it and fill it out by hand or use a computer. They can even put it on paper.
Conclusion
Intakeforms are essential for collecting and organizing data in various industries. They help businesses make choices that can be defended, provide the right services, and keep accurate records. They are often the first step in creating a good business relationship between a person and a company.

