Introduction
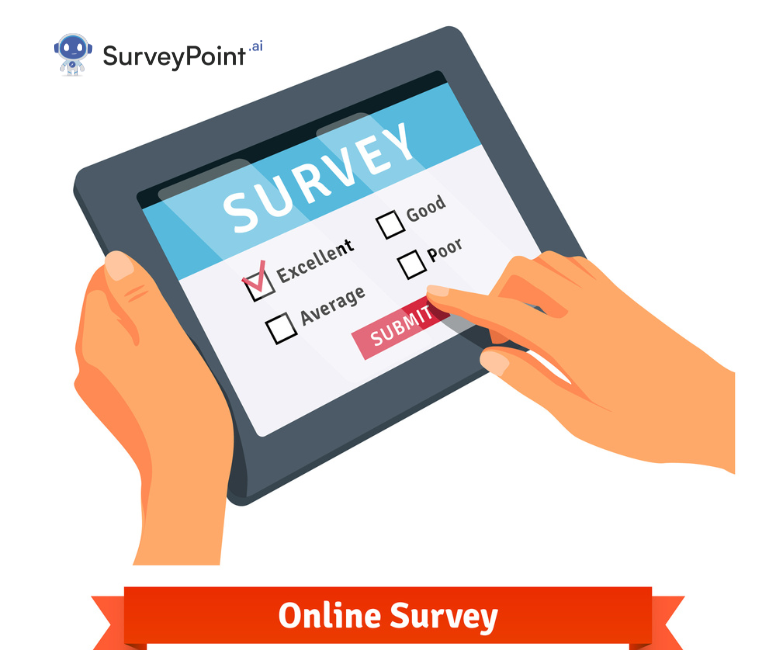
Google Forms is a powerful tool for creating surveys, questionnaires, and registration forms. It allows you to gather information efficiently. However, there are times when you want to share your form with the world, but you also want to ensure that it remains non-editable.
In this guide, we’ll show you how to make a Google Form public while safeguarding it from unauthorized edits.
Let’s get started.
- Making a Google Form Public
Making your Google Form public means that anyone with the link can access it. Here’s how to do it:
- Create Your Google Form:
- Start by creating your form. Go to Google Forms (forms.google.com) and click on the “+” sign to create a new form.
- Add questions and options, and customize your form as needed.
- Access Form Settings:
- In the top-right corner, click on the gear icon to access the form settings.
- Configure Form Visibility:
- Under the “General” tab, you’ll find the option “Collect email addresses.” Uncheck this box if you don’t need email collection.
- Adjust Privacy Settings:
- Click the “Send” button, which has a paper airplane icon, now.
- Choose the “Anyone with the link” option to make your form public.
- Making a Google Form Non-Editable
While sharing your form publicly, it’s essential to prevent unauthorized edits. Here’s how:
- Protect Responses:
- In the form editor, click on the “Settings” icon (the gear icon) and select “Quizzes.”
- Toggle on “Make this a quiz.“
- Prevent Editing After Submission:
- Under “Release score,” choose “Later, after manual review.”
- This ensures that responses are not immediately editable upon submission.
- Limit Responses:
- To prevent further submissions, click on the “Responses” tab.
- Toggle off “Accepting responses.“
By following these steps, you can create a Google Form that’s open to everyone with the link yet remains non-editable once responses are submitted.
- Making Google Forms Accessible to Everyone
Ensuring that your Google Forms are accessible to everyone is essential, especially when you want to reach a diverse audience. Here’s how to do it:
- Use Clear Language:
- Craft questions and instructions using simple and clear language. Avoid jargon or complex terms that might confuse respondents.
- Enable Keyboard Navigation:
- Google Forms are inherently accessible. However, test your form with keyboard navigation to ensure all questions and options are reachable without a mouse.
- Add Descriptive Alt Text:
- If your form includes images, charts, or graphs, be sure to provide descriptive alt text to assist users with visual impairments.
- Offer Multiple Response Options:
- When asking multiple-choice questions, provide a variety of response options to accommodate diverse perspectives and experiences.
- Creating a Google Form for Registration
Google Forms can be a fantastic tool for event registration, sign-ups, and more. Here’s how to create a registration form:
- Collect the necessary information:
- Identify the information you need from registrants, such as names, email addresses, contact numbers, and any specific event-related details.
- Use Question Types:
- Google Forms offers various question types, including multiple-choice, short answer, and dropdown. Utilize these to gather the required data effectively.
- Customize Confirmation Messages:
- After submission, customize the confirmation message to thank registrants and provide any additional event-related information or instructions.
- Making Google Forms Open to All
If you want to make your Google Form accessible without any restrictions, here’s how to open it to all:
- Access Form Settings:
- Go to the form settings by clicking on the gear icon in the top-right corner.
- Change Privacy Settings:
- Under the “General” tab, choose “Anyone with the link” to ensure that your form is open to everyone.
By following these steps, you can create an accessible registration form that is open to all respondents.
The Benefits of using online public forms
- Global Accessibility: Online public forms can be accessed from anywhere in the world with an internet connection. This global reach allows you to collect responses and data from a diverse and widespread audience.
- Cost-Efficiency: Creating and distributing online public forms is typically more cost-effective than traditional paper-based forms, which require printing and physical distribution.
- Convenience: Respondents can complete online public forms at their convenience, eliminating the need for in-person data collection or mailing paper forms.
- Reduced Paper Usage: Online forms are environmentally friendly as they reduce the need for paper, printing, and physical storage.
- Easy Data Management: Responses Are automatically organized and stored electronically, simplifying data management, retrieval, and analysis.
- User-Friendly: Online forms can include user-friendly features like drop-down menus, checkboxes, and radio buttons, making it easier for respondents to complete them accurately.
- Analytics and Reporting: Online form platforms often provide built-in analytics tools, allowing you to generate reports, charts, and graphs to visualize and interpret the data.
Conclusion
In this comprehensive guide, we’ve explored various aspects of making Google Forms more versatile and accessible. We’ve learned how to make your forms public yet non-editable, ensuring the security of your data. Additionally, we’ve delved into strategies for creating forms that are user-friendly and open to a wide range of respondents. By following these tips and tricks, you can harness the full potential of Google Forms for your surveys, registrations, and more.