Adding Multiple Choice Question Type To Slider Forms
Multiple choice questions are close-ended questions requiring the respondents to choose one or more options from the given field to answer the question. They’re easy to answer, quick, and help the surveyor get a lot of data without a lot of hassle.
- To add an MCQ to your survey on SurveyPoint, open the workspace and click “+ Create a new survey.” You can also use our pre-made templates if you don’t want to start a survey from scratch.
- If you already have a survey on your workspace, you can also add this question type to it.

- Open your survey to get started.
- Click on the “+” button on the top right corner of the sidebar. Once you click on it, you’ll be able to see a list of several question types offered by SurveyPoint.

- To add an MCQ, click on the “+” icon on your sidebar’s top right-side corner and select “MCQ” from the question type list.

The next image shows what your MCQ would look like.

- Once you click on MCQ, your screen will show you a question with mock content. All you have to do is enter your question, add some optional descriptive text, then hit Enter to start populating your list with options.

- Below your last choice box is an “Add Choice” option that lets you add as many choices as you desire to your question.
- You can delete the question by clicking on the three dots present on the question in the sidebar.

Navigating Settings
You can change the settings of your MCQ by visiting the settings tab right next to the “Questions” corner of the sidebar.

The above image shows the setting panel as a sidebar. Let’s go over it each one by one.
- Enabling the “Required” option will make the question mandatory to fill. Meaning the respondents won’t be able to skip this question while filling out your survey.
- Enabling “Multi Selection” will allow your respondents to select more than one option. If you choose this setting, you will be able to create an MCQ question with multiple selectable options. This can be useful when there is more than one possible answer.
- “Randomize” shuffles the choices every time a new responder fills out the question. This can be helpful in case you are conducting a test survey.
- The “Other Option” allows you to add another choice under “Other.” This can be helpful for respondents to fill out the question in case their answer is not listed as a choice.
- The “Other Option with text field” is similar to the other option. However, in this case, the respondents will be required to type in their alternative if their desired option is not listed. This adds an open-ended touch to your close-ended MCQ.
Adding An Image/ Video To Your Question
You can also add images or videos by clicking “Add Image or Video”.
- To add an image or a video, hit ‘Upload’ and select the file from your media section. You can also upload the same from your system directly.

- You can also drag and drop the image or video file into the drop box. The acceptable files should either be PNG or JPG. If you want to upload a GIF, it must not be more than 4 MB.

- You can also search and upload stock images via Unsplash by clicking on the Image section. Simply type the related keyword and select the image that appeals you the most.
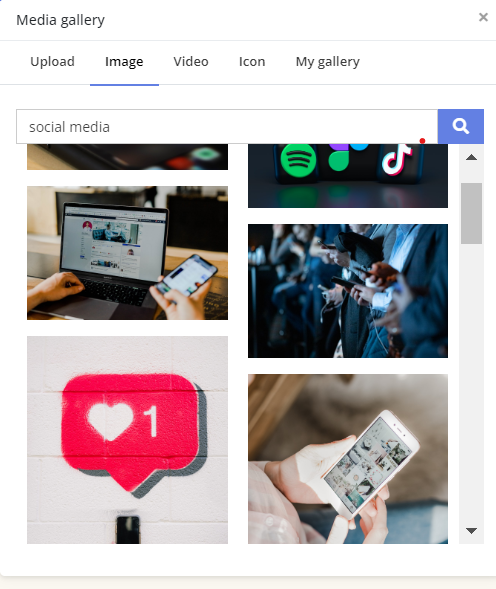
- You can also enhance the look by uploading a video and icons. Also, if you want to select the previously selected media again, you can do so from My gallery.
- Alternatively, you can delete the video, GIF, or image at any time by clicking on the “Delete” button.
Adding Design Elements
You can customize your questions by clicking on the small brush icon (design icon) situated on the sidebar.

From the Design section, the look and feel can either be customized as per your preferences, or you can go with a pre-built theme under “Gallery.”

Custom Options
- To change the color of the question text and answer text, simply click on the downward-facing arrow and select the color scheme of your choice. You can choose the options from a grid, spectrum, and sliders. This helps you modify the color and pick the right one that you are looking for.

- You can also change the button color by following the same procedure.
- To add a solid background color to your question, click on the “Background” button and select the color you want.

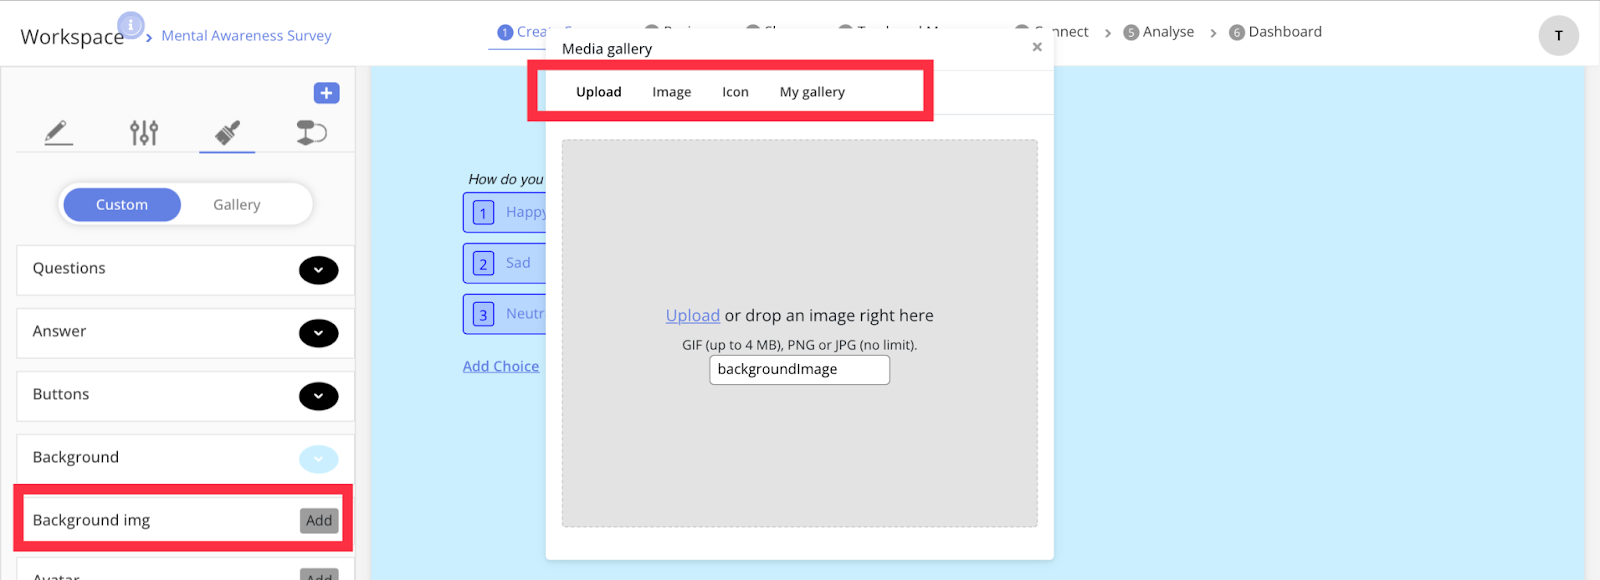
Moreover, if you want to go the extra mile and want any particular image in the background, SurveyPoint allows you to do that as well. Just click on “Background Img” and add the file to spice up your survey look.
- You can either upload the images from your system by clicking on Upload or browse stock images via Unsplash by clicking on Image/Icon. You can also use previously used images from My Gallery.
- You can also add avatars by adding them to the background. Simply click on Avatar and upload the file.

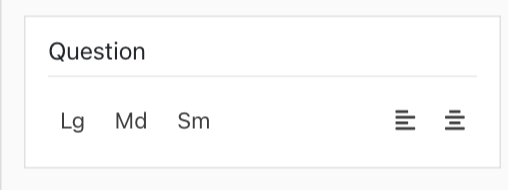
- By choosing between Lg, Md, and Sm, you can select the font size for questions.
- To bring the text to the middle, click on the alignment option in the sidebar’s bottom left corner.
Gallery
You can also pick some of the default designs on the platform, go to the Gallery option and choose your favorite template to customize the question.

IMPORTANT NOTE
Please keep in mind that if you change the settings or designs of one question, similar changes will also be made to other questions in the survey.
Hope that solves all your doubts. However, if you still have questions, we are here to help.
Write to us at connect@surveypoint.ai, and we’ll get back to you as soon as possible.


