Adding Text Box Matrix Question Type To Your Surveys
The text box matrix is somewhat similar to the radio matrix question type. Like a radio matrix, this question type also includes rows and columns and allows you to gather a massive amount of data from your respondents.
However, unlike the radio matrix, the respondents would be required to type in their responses rather than just selecting the desired choice.
- To add a text box matrix to your survey on SurveyPoint, open the workspace and click “Create a new survey +.” You can also use our pre-made templates if you don’t want to start a survey from scratch.
- You can also open an existing survey that you have created on your workspace to add this question type.

- Open your survey to get started.
- Once you open your survey, click on the “+” button located under the Create Survey panel sidebar.

- Then, select the Text Box Matrix from the question type menu to add this question to your survey.

The below image illustrates a textbox matrix question type.

- In the text box matrix question, you must provide the text for the question, columns, and rows.
- It is now only a matter of replacing the pre-existing text with the actual question.
- You can also add column text by replacing “Col 1” with your text. To add more columns, click on “Add column”.

- Alternatively, you can delete the column by clicking the cross button. The cross button will be visible once you click or hover the cursor on the column.
- To add row text, replace “Row 1” with your text. You can also add more rows by clicking on Add Row. Once you have added a row and want to delete it, click on the cross button, which will be visible once you hover over the row or click on it.

- You can delete the question by clicking on the three dots present on the question in the sidebar.

Navigating Settings
In the sidebar, adjacent to the “Questions” option, you will find a settings tab where you can modify your text box matrix question settings.

- In the settings option, you can choose to make whether the question is required or not. In other words, respondents will not be able to skip this question if you enable the Required option.
- The Multi-selection option allows the respondents to select multiple options in a single question type. You can enable it by turning the toggle ON

Adding An Image/ Video To Your Question
You can also add images or videos by clicking “Add Image or Video”.
- To add an image or a video, hit ‘Upload’ and select the file from your media section. You can also upload the same from your system directly.

- You can also drag and drop the image or video file into the drop box. The acceptable files should either be PNG or JPG. If you want to upload a GIF, it must not be more than 4 MB.

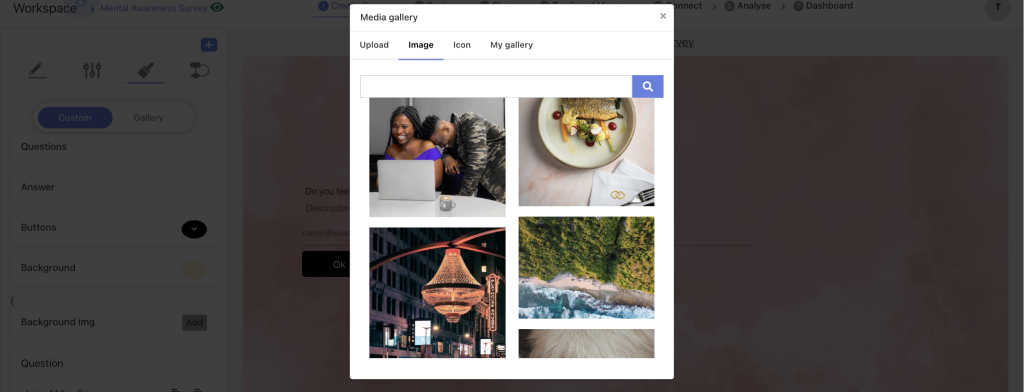
You can also search and upload stock images via Unsplash by clicking on the Image section. Simply type the related keyword and select the image that appeals you the most.
- You can also enhance the look by uploading a video and icons. Also, if you want to select the previously selected media again, you can do so from My gallery.
- Alternatively, you can delete the video, GIF, or image at any time by clicking on the “Delete” button.
Adding Design Elements
You can customize your questions by clicking on the small brush icon (design icon) situated on the sidebar.

You can either visit the Custom option or the Gallery option to customize your questions.

Custom Options
You can add different color options to question and answer by clicking on the down arrow option.
- Simply click on the down facing arrow and select the right color. You can choose the options from a grid, spectrum and sliders. This helps you modify the color and pick the right one that you are looking for.
- You can also change the button color by following the same procedure.

- To add a background solid color to your question, click on background and select the color you want.


- Moreover, to add a background image, click on “Background Img” and add the file from your system.
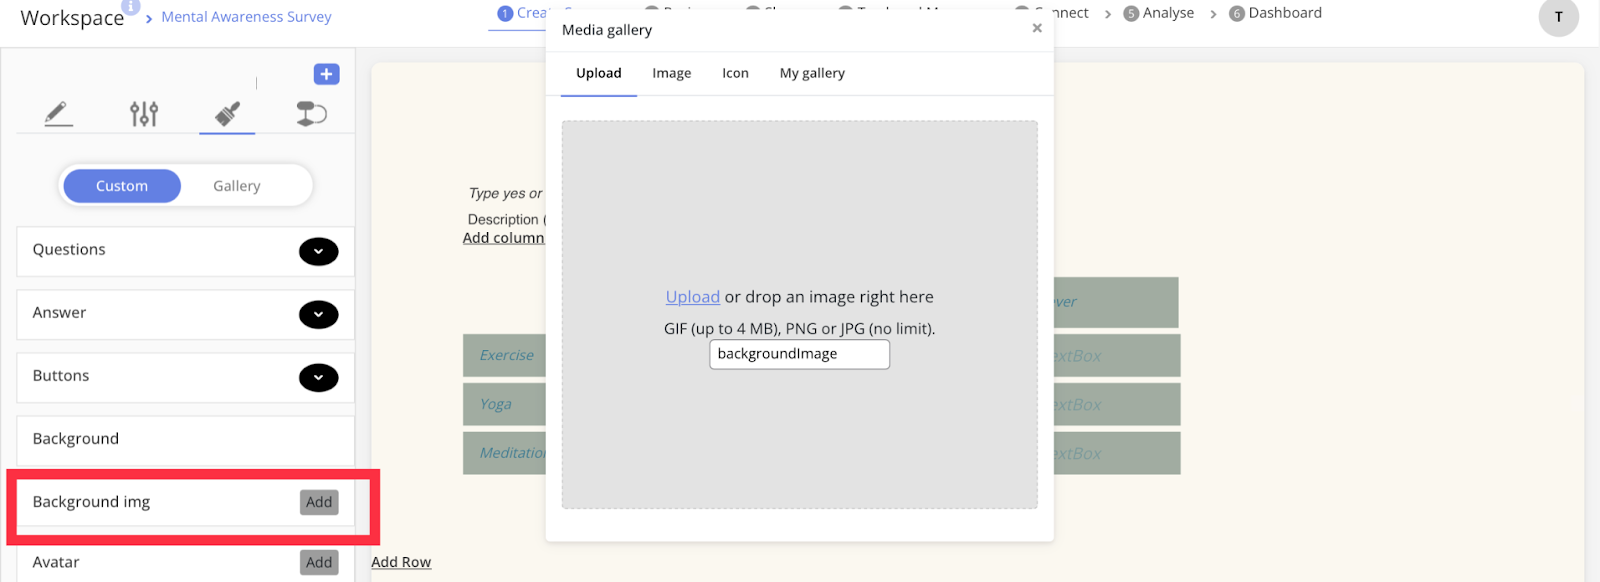
- Moreover, to add a background image, click on “Background Img” and add the file from your system.
- You can either upload the images from your system by clicking on Upload or browse stock images via Unsplash by clicking on Image/Icon. You can also upload the images from your SurveyPoint gallery by clicking on Gallery.

- You can also add avatars by adding them to the background. Simply click on Avatar and upload the file.

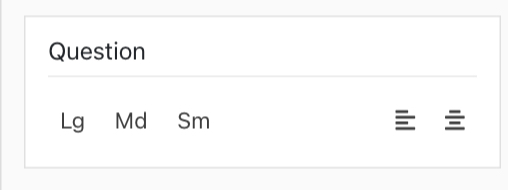
- Regarding question font size, you can choose from small, medium and large by selecting between Lg, Md and Sm.
- To bring the text in the middle, click on the alignment option given in the bottom left corner of the sidebar.
Gallery
If you want to add custom designs and no solid colors, visit the Gallery option in the sidebar and choose your favorite template to customize the question.

Important NoteRemember, if you change the settings or designs of one question, the similar changes will be applied to other questions in your survey as well.
Hope that solves all your doubts. However, if you still have questions, we are here to help.
Write to us at connect@surveypoint.ai and our team will connect with you shortly.


